Coordinating printed materials for corporate events is essential for creating a professional, consistent, and memorable experience. From invitations and registration signs to event agendas, banners, and branded brochures, every printed item contributes to how attendees perceive your business. When these materials share a consistent design, they strengthen brand recognition and make it easier for guests to navigate the event.
Whether you’re organizing a corporate conference, product launch, networking event, trade show, or company celebration, planning your print materials in advance can help avoid last-minute mistakes and inconsistent branding.
In this guide, we’ll explain how to coordinate printed materials for corporate events, choose the right event stationery, maintain consistent branding, and organize event signage and printed collateral for a seamless experience.
Define Your Corporate Event Goals and Audience
Before selecting print products, identify the purpose of your event and the audience you’re trying to reach. A corporate conference may require agendas, directional signage, speaker information, and presentation materials. A product launch might need promotional brochures, product information sheets, branded displays, and takeaway cards. Understanding your objectives helps you decide which corporate event print materials are necessary and how each item should support the attendee experience. Consider these questions:
- What is the primary purpose of the event?
- Who will attend, and what information will they need?
- Which printed materials will help communicate the event’s message?
- Will attendees need materials to take home?
- Which items should feature your company branding?
A clear plan helps you avoid unnecessary printing while ensuring essential information is available throughout the event.
Create a Consistent Visual Identity
Consistency is one of the most important elements of successful event printing. Invitations, banners, brochures, and signage should look like parts of the same event rather than unrelated materials. Start by establishing a simple visual style that includes your company logo, brand colors, typography, imagery, and preferred design elements. Apply these guidelines across every printed item. For example, use the same headline fonts on invitations and event agendas, maintain consistent logo placement, and repeat key brand colors across banners and directional signs.
Consistency also applies to written content. Check that the event name, date, venue, company details, and contact information match across all materials. Before approving designs, review your company’s existing brand guidelines and explore the Direct Graphix website for context on your printing and marketing material needs.
Plan Your Event Stationery
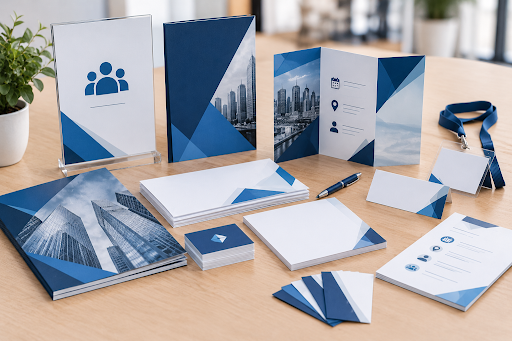
Event stationery helps communicate important information before, during, and after a corporate event. These materials should be visually coordinated and designed around the attendee’s needs.
Depending on the event, your stationery may include:
- Invitations: Introduce the event and communicate the date, time, venue, and registration details.
- Name badges: Help attendees, speakers, and staff identify one another.
- Event agendas: Outline sessions, presentations, breaks, and networking opportunities.
- Table cards: Identify reserved seating, speakers, or designated areas.
- Thank-you cards: Follow up with attendees, clients, or business partners after the event.
Choose suitable paper stock, finishes, and sizes for each item. For example, name badges should be easy to read, while invitations may benefit from a more refined paper finish. Order quantities should also reflect your expected attendance, including a reasonable allowance for additional guests or replacement materials.
Coordinate Event Signage and Printed Collateral
Event signage and printed collateral help attendees navigate the venue, understand the event schedule, and recognize your brand. These materials should be planned together so that their design, messaging, and placement support the overall event experience.
Common examples include:
- Welcome signs: Greet attendees at the entrance.
- Directional signs: Guide guests toward registration desks, meeting rooms, restrooms, and networking areas.
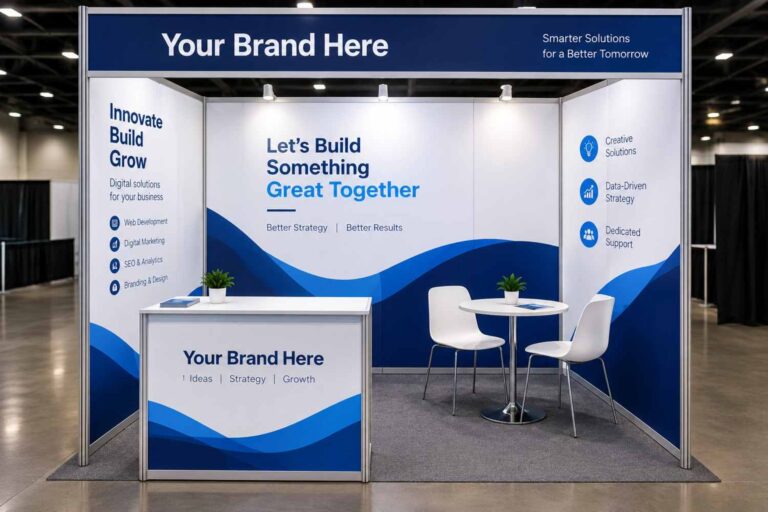
- Banners and backdrops: Create branded spaces for presentations, photographs, and sponsor visibility.
- Promotional brochures: Share company information, product details, or service offerings.
- Presentation materials: Support speakers with printed handouts and supporting information.
- Tabletop displays: Highlight products, sponsors, or important event information.
Consider the venue’s layout and viewing distances when selecting sign sizes. Large signs should be readable from a distance, while tabletop materials can include more detailed information. For events that include large displays or multiple signage formats, review the printing capabilities and equipment available through Direct Graphix when planning your production requirements.
Choose the Right Paper, Size, and Finish
The appearance and durability of printed materials depend partly on the materials and finishes you choose. Selecting suitable specifications helps ensure that each item looks professional and performs its intended function.
For example, brochures and agendas may require lightweight, easy-to-handle paper, while invitations and business cards may benefit from heavier stock. Outdoor signage may require materials designed to withstand weather conditions, depending on the display location.
Before placing your order, consider:
- Paper weight: Select a suitable weight for the material’s purpose.
- Finish: Choose matte, gloss, or another appropriate finish based on your design and usage.
- Size: Confirm that each item fits its intended location or holder.
- Durability: Consider how frequently materials will be handled and whether they will be used indoors or outdoors.
- Readability: Ensure that text, colors, and graphics remain clear in the event environment.
Request samples or consult your printing provider if you’re unsure which specifications will work best for your event.
Prepare Artwork and Approve Proofs Before Printing
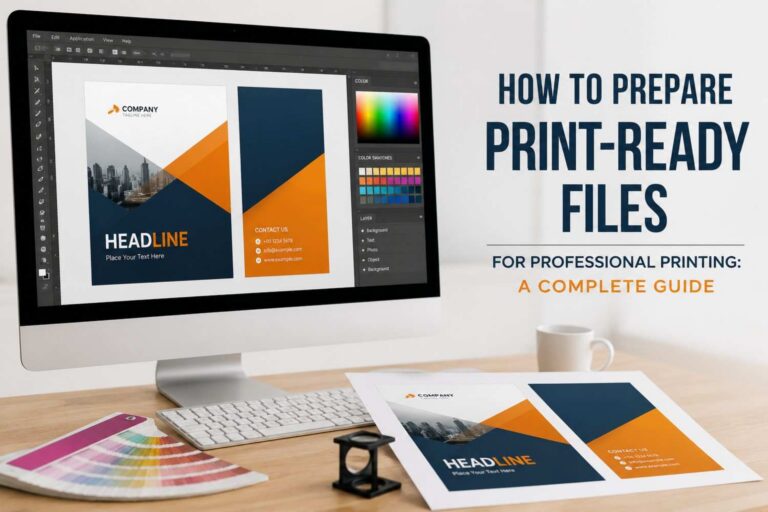
Even well-designed materials can create problems if the artwork contains incorrect information or technical errors. Preparing print-ready files and reviewing proofs carefully can help reduce delays, waste, and reprinting costs.
Check the following before approving production:
- Confirm the event date, venue, schedule, and contact information.
- Verify logo placement, colors, fonts, and image quality.
- Ensure the document dimensions match the required final size.
- Include bleed and crop marks when required by the printer.
- Check that images and text are not too close to the edges.
- Review spelling, punctuation, and alignment.
- Request a proof before approving the final print run.
Pay particular attention to information that may change, such as speaker names, session times, and sponsor details. Assign one person to review and approve the final artwork to avoid conflicting revisions.
Build a Printing Timeline and Coordinate Delivery
Timing is crucial when coordinating corporate event print materials. A clear production schedule gives your team enough time to finalize designs, approve proofs, print materials, and organize delivery.
Start by listing every required item and its deadline. Work backward from the event date, allowing time for design revisions, printing, finishing, shipping, and quality checks.
For a smoother process:
- Finalize the event details and print requirements.
- Prepare and approve the artwork.
- Confirm quantities, specifications, and production timelines.
- Schedule printing and delivery.
- Inspect the materials when they arrive.
- Organize items by location or distribution point.
For complex events, prepare a checklist that identifies the person responsible for each item. This helps prevent missing signs, incorrect quantities, and last-minute printing requests. If you need help planning printed materials for an upcoming event, explore Direct Graphix’s digital printing services.
Conclusion
Coordinating printed materials for corporate events requires thoughtful planning, consistent branding, suitable material selection, and careful production management. From event stationery and name badges to banners, brochures, and directional signs, every item should support your event goals and provide attendees with a professional, organized experience.
By preparing artwork early, checking proofs, and coordinating production schedules, you can reduce printing errors and ensure your materials are ready when needed.
Planning your next corporate event? Contact Direct Graphix to discuss your printing requirements and explore options for creating professional marketing and event materials.
Frequently Asked Questions
What printed materials are needed for a corporate event?
Common printed materials include invitations, name badges, event agendas, welcome signs, directional signage, banners, brochures, presentation handouts, and promotional materials. The exact requirements depend on the event type, venue, and audience.
How can I maintain consistent branding across corporate event print materials?
Use consistent brand colors, fonts, logos, imagery, and messaging across all materials. Following established brand guidelines and reviewing every design together before printing can help maintain a unified appearance.
What is included in event signage and printed collateral?
Event signage and printed collateral can include welcome signs, directional signs, banners, backdrops, brochures, flyers, tabletop displays, and printed information sheets. These items communicate information, promote a business, and help attendees navigate the event.
When should I order printed materials for a corporate event?
Begin planning several weeks before the event whenever possible. Your timeline should account for design, revisions, proof approval, printing, finishing, and delivery. Large or complex print projects may require additional time.
How can I avoid mistakes when printing corporate event materials?
Verify all event details, check spelling and branding, confirm artwork dimensions, prepare print-ready files, and review proofs before approving production. A final checklist and a designated approver can help reduce errors.