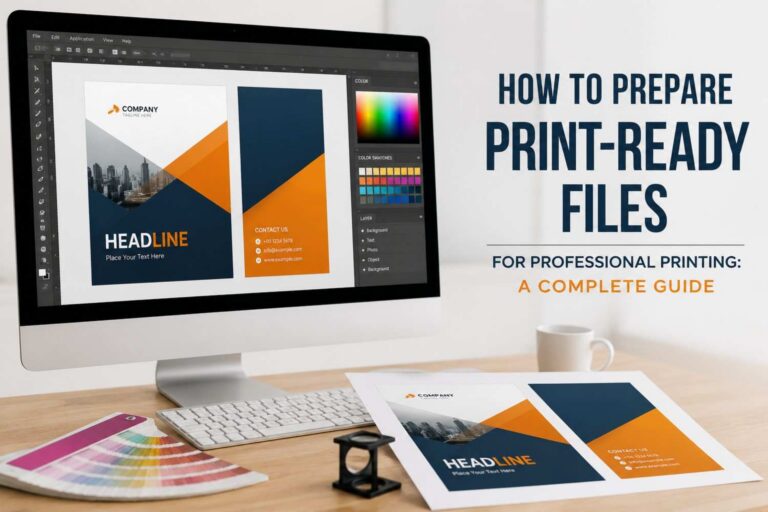
A print-ready file is artwork that has been prepared according to the technical specifications required for professional printing. It should have the correct dimensions, resolution, color settings, bleed, fonts, and other elements needed to reproduce the design accurately.
Common file formats for professional printing include PDF, AI, EPS, and other production-ready formats depending on the project and printer’s requirements.
If you’re unsure about the correct specifications, professional graphic design services can help prepare artwork before production.
1. Use the Correct Document Size
Start your print file preparation by setting the document to the final finished size of the product.
For example, if you’re creating a standard business card, the document should be built around the printer’s required dimensions rather than designing at an arbitrary size and resizing it later.
For larger projects such as banners, posters, and other displays, always confirm the required finished dimensions before creating the artwork. This is especially important for large format printing services because large graphics may have different production requirements.
2. Add Bleed to Your Artwork
Bleed is extra artwork that extends beyond the final trim edge. It prevents unwanted white edges if the printed piece is trimmed slightly inside or outside the intended cutting line.
When preparing artwork for professional printing:
- Extend background colors and images into the bleed area.
- Keep important text and logos away from the trim edge.
- Follow the printer’s specified bleed measurement.
- Include crop marks when requested.
The exact bleed requirement can vary by product, so always confirm the printer’s specifications before submitting your file.
3. Check Image Resolution
Low-resolution images can look sharp on a computer screen but appear blurry or pixelated when printed.
For most standard printed materials, images should generally be prepared at approximately 300 DPI at their final output size. Large-format projects may use different effective resolutions depending on viewing distance and production specifications.
Before exporting your file, check photographs, logos, illustrations, and other raster images to ensure they have sufficient resolution.
4. Use the Correct Color Mode
Color displayed on a monitor and color reproduced through printing can look different. Professional print production commonly uses CMYK color rather than RGB.
When preparing files for printing:
- Convert or create artwork in the appropriate color mode.
- Check important brand colors carefully.
- Avoid relying entirely on how colors appear on your monitor.
- Use printer-approved color profiles when provided.
For projects involving specialized applications or larger-scale visual production, large format 3d printing may also be considered depending on the project’s requirements and specifications.
5. Embed or Outline Your Fonts
Missing fonts can change the appearance of your design when the file is opened on another computer.
To prevent font-related problems, either:
- Embed fonts in the final PDF, or
- Convert text to outlines when appropriate.
Before outlining fonts, keep an editable version of your original design file. Outlined text is no longer directly editable as text.
6. Keep Important Elements Inside the Safe Area
Bleed protects the background, while the safe area protects important content.
Keep essential elements such as:
- Headlines
- Contact information
- Logos
- Website addresses
- Phone numbers
- Important graphics
away from the trim edge. This reduces the risk of critical information being cut off during finishing.
7. Export the Final File Correctly
Once your artwork has been checked, export it using the appropriate production settings. A print-ready PDF is often a practical choice because it can preserve page dimensions, fonts, graphics, and layout more consistently than many working files.
Before sending the file, open the exported PDF and inspect every page at high magnification. Check for missing images, incorrect text, unexpected color changes, and layout problems. If you’re preparing materials such as business cards, brochures, flyers, or postcards, you can also review Direct Graphix’s digital printing in Florida to determine the appropriate printing solution for your project.
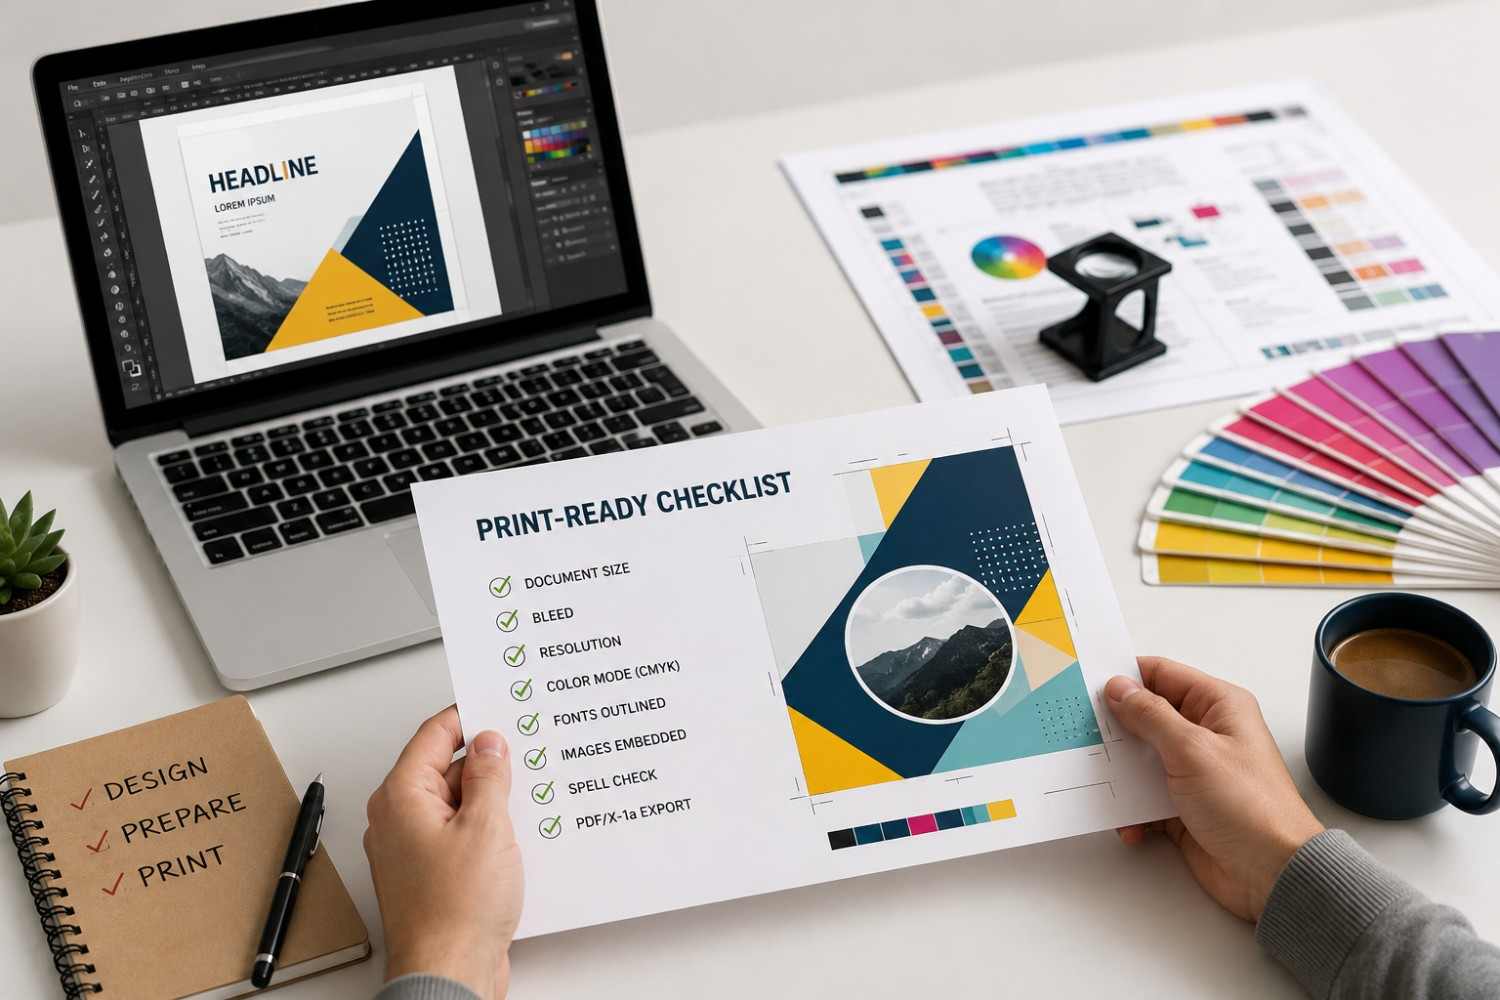
Print-Ready File Checklist
Before submitting your artwork, use this quick checklist:
✓ Correct final document size
✓ Required bleed added
✓ Important content inside the safe area
✓ Images have sufficient resolution
✓ Correct color mode used
✓ Fonts embedded or outlined when required
✓ Images and graphics are not missing
✓ Correct number of pages
✓ Final PDF has been proofread
✓ Printer-specific requirements have been followed
Taking a few minutes to review these print design file requirements can help avoid preventable production issues.